We are so close to having a finished T!
Pour yourself some of your favorite T (this week I’m reaching for some Hot Tea, Pumpkin Chai Spice, perfect for fall!) and get cozy for a bit so that we can go over what needs to happen next.
So, you have finished your back and your front, and they are the same length (this is important to make the next step work, so if they aren’t quite the same take a moment to work them so they are!). Now, look at the front and notice how many stitches you have on the right front side, those are your should stitches. Look at the right back, and move the same number of stitches that you have on the front to your working needle.
Now, before you move the front stitches, you need to decide how you want to seam your shoulder- do you want to Kitchener stitch them together, or do you prefer the 3-needle bind off? If you like Kitchner, than go ahead and move the front stitches to the open needle. If you prefer the 3-Needle Bind off, go ahead and grab an extra spare needle!
Now, bind off the front and back stitches together in your preferred method.
Yay! (Leave the neck stitches from the back, and the front, if you have them, on their waste yarn! We’ll get to those in a minute.
Now, do the same thing with the shoulder stitches on the left side.
If you are having a hard time with the Kitchener or the 3 Needle Bind off, make sure to post in the thread on Ravelry so we can help you out with that. If I need to, I’ll make a tutorial video for you to walk you through it, ok?
Shoulders seamed, check!
Up next is the sleeves!
If you are going to a simple tank, like mine, I simply worked an applied I-cord edging around the armhole. (If you prefer to do a crochet edging, you could do that as well!)
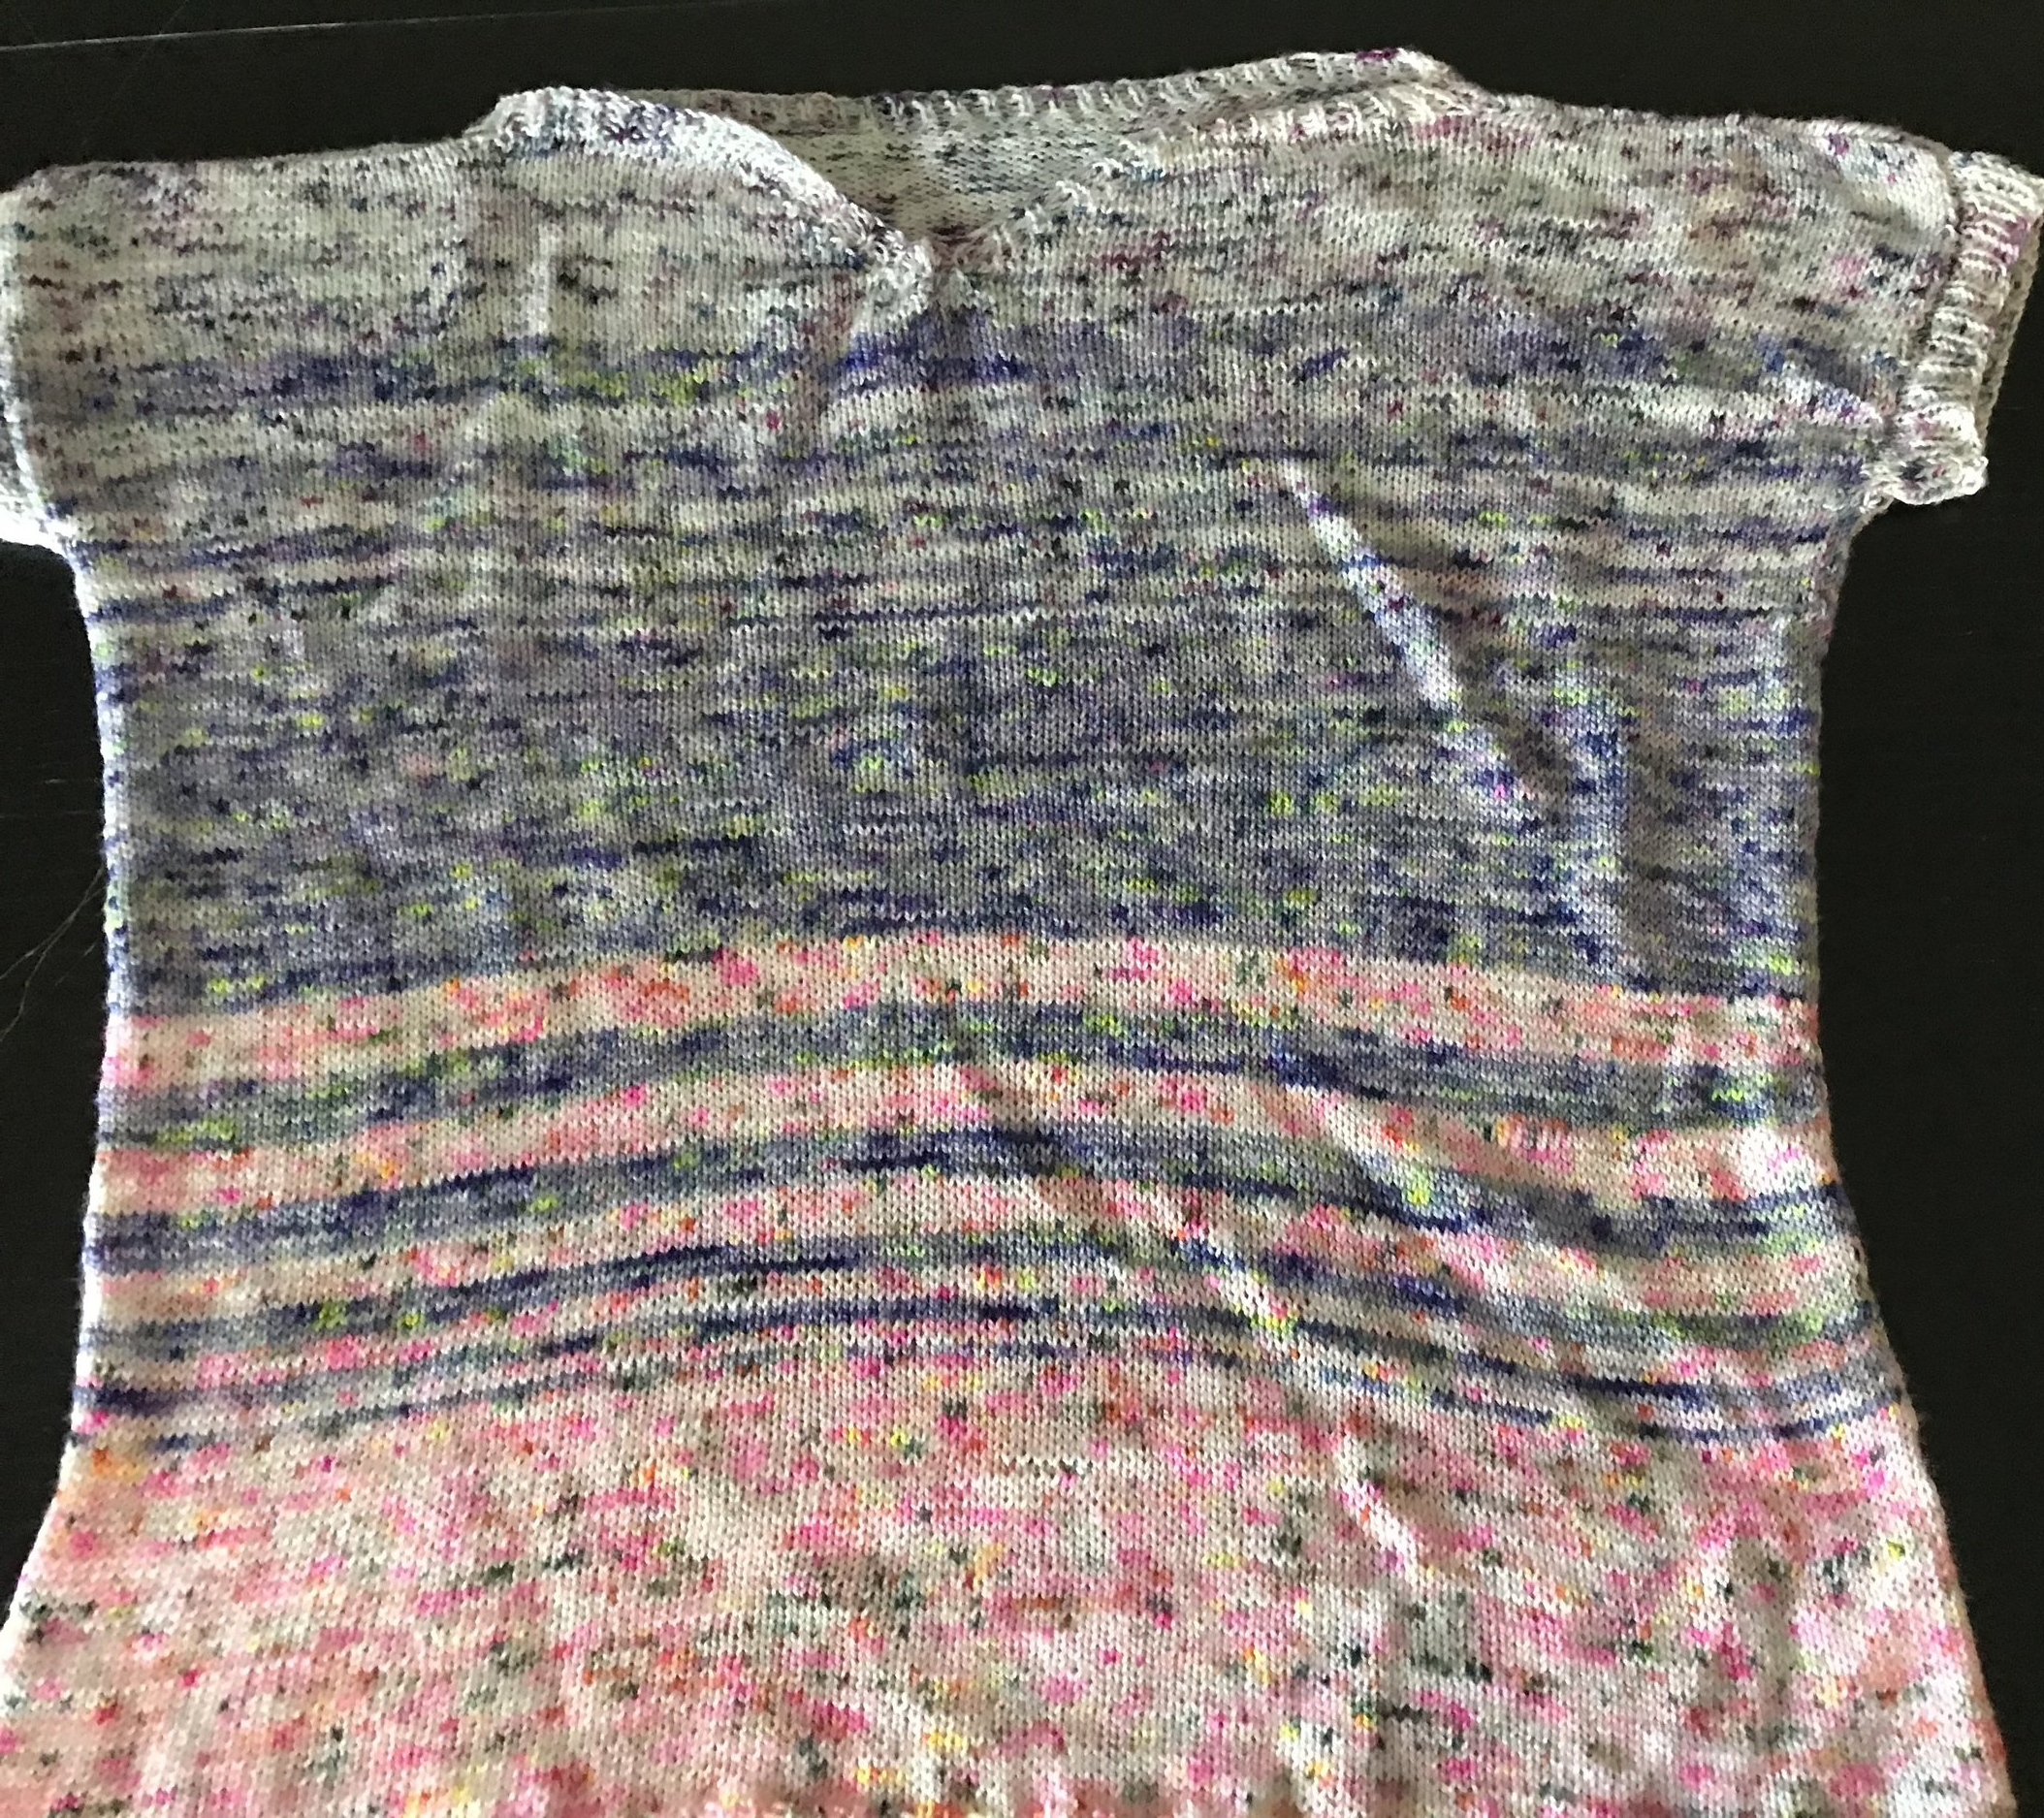
For the faded T, I worked a small sleeve, so I picked up 1 st for every st around the armhole, then place a marker, I worked in the round for about 6 rounds, then I worked in k2,p2 rib for 4 rounds and bound off.
For the kid’s T with ruffled sleeves, I picked up 1 st to 1 st around the armhole, knit for about 1 inch, then I worked a kf&b (knit into the front and back) of every stitch increase across the round, then knit for about another 2 inches before binding off.
If you are looking to do long sleeves, you’ll want to work out a series of decreases down the arm so that your sleeves don’t hang of off you (since we are focusing on T’s, I’m not going to go over this too much here, but basically, work even for about 1 inch, in the round, and then decrease 2 sts roughly every inch or so until the arm length is what you desire, work a cuff, bind off, and be happy!)
However you work your sleeves, make sure you do the same for the other side (although you could go for a totally new look and have asymmetrical sleeves and be a trendsetter, lol!).
Sleeves, check!
Last thing: The Neck Edging!
For the V-neck on the tank, I just worked the applied I-cord edging.
I created a V-neck illusion on the faded tee, I picked up 1 st along the edge, knit across the sts held on waste yarn, then picked up 1 st per st along the other front edge, then, this is the important part, I worked in K2, P2 rib, FLAT, for about 2 inches. Then bind off.
Sew the rib part over itself down in the front so it makes a tiny placket.
Weave in all ends, and wear happy! (well, first you should wash and block, but sometimes you just get too excited to do that, or, who am I kidding, to even weave in all those pesky ends!


